Crediting Part of an Invoice for a Service Job - Not Itemised
Use this process to credit part of a normal invoice for a service job, e.g. to credit back materials or labour that were incorrectly invoiced or to give the customer a discount, when there are lines on the job that have not yet been invoiced.
In this procedure a negative quantity is entered against a job line where the cost centres are not itemised (i.e. No is selected in the Itemise field against a cost centre on the Invoicing Jobs screen). This creates a credit note.
|
|

|
Warning
|
To credit only part of a normal invoice, you load the job as normal then enter a negative quantity on the appropriate item or labour line.
- Load the job you want to credit.
Refer to "Recalling a Service Job or Quote".
- If required, change the Job Status on the Job Information screen from C - Completed to A - Active.
- Select Accept.
Micronet displays the Job Transaction Processing screen.
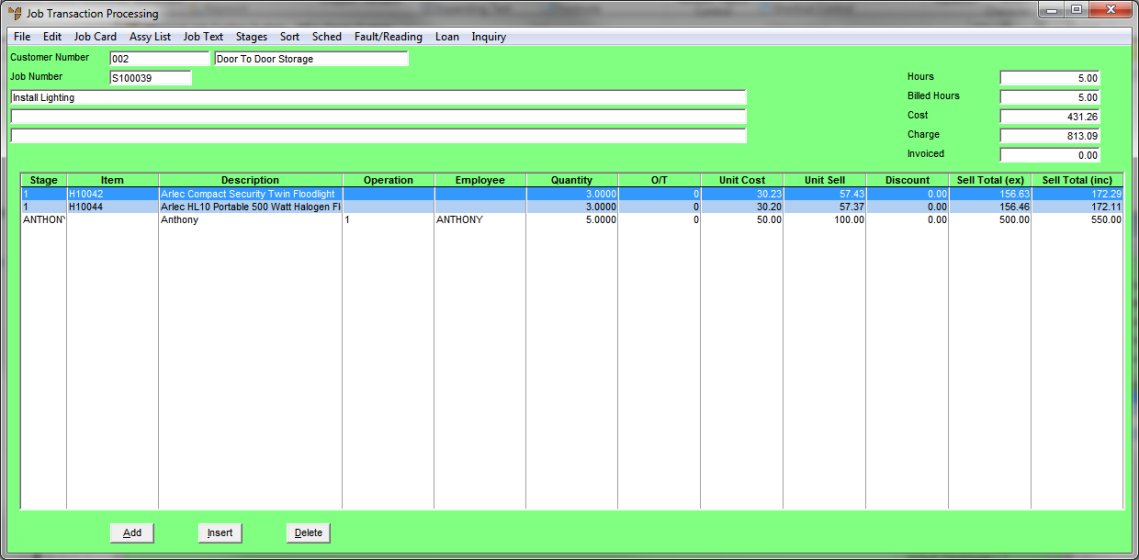
- Select Add.
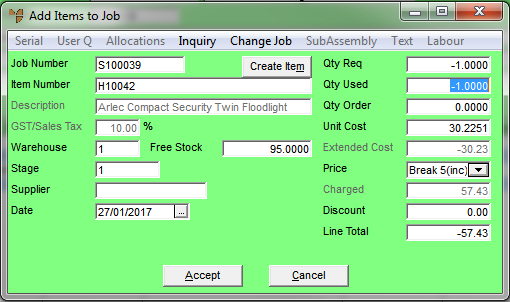
Micronet displays the Add Items to Job screen.
- Select an Item Number.
- To credit items, enter a negative quantity in the Qty Req field.
Enter the quantity of the item to be credited, entering the number first and then the minus sign.
- To credit labour, enter a negative quantity in the Bill Hours field.
Enter the quantity of the hours to be credited, entering the number first and then the minus sign.

- Select Accept.
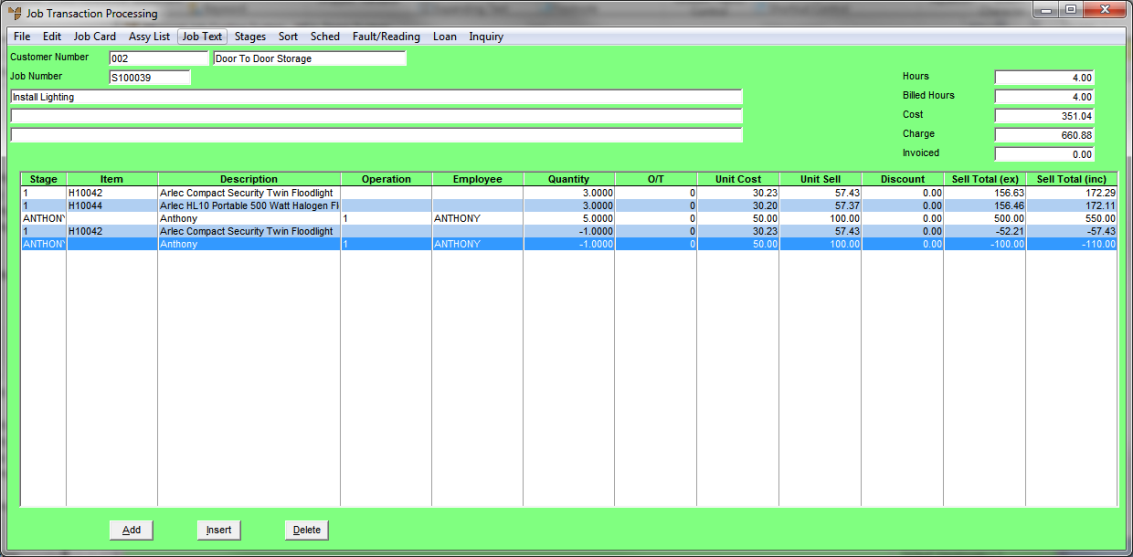
Micronet displays the Job Transaction Processing screen showing the lines to be credited.
- Select FILE | NORMAL INVOICE.
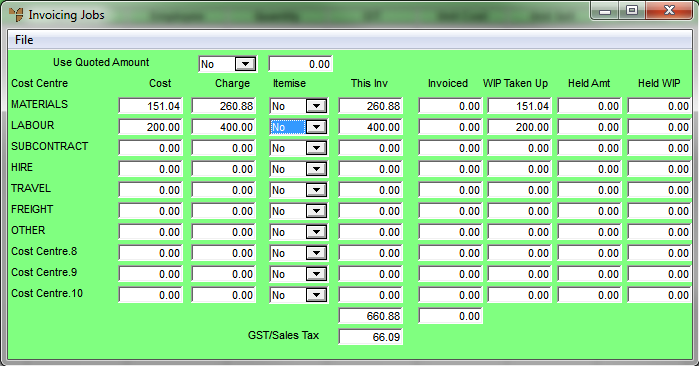
Micronet displays the Invoicing Jobs screen showing the amounts to be credited.
|
|

|
Technical Tip
Note that the Itemise fields are set to No.
|
- Select FILE | PRINT INVOICE.
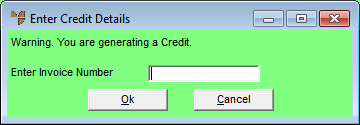
Micronet displays a message warning that you are generating a credit.
- Enter the invoice number to be credited.
You can also press spacebar then Enter to select from a list.
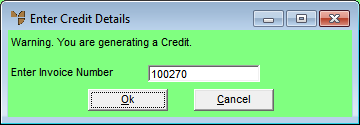
- Select Ok.
Micronet displays the Invoice Creation screen showing the amounts to be credited.
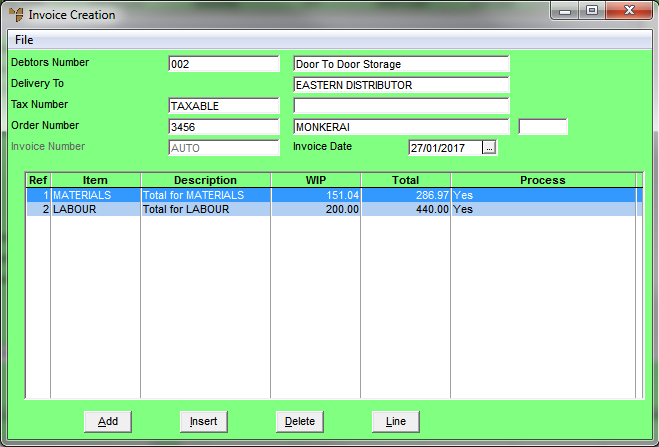
- Select FILE | PRINT INVOICE.
|
|
|
Technical Tip
You cannot select the FILE | PROFORMA INVOICE option as you cannot save a credit as a proforma invoice.
|
Micronet displays the Invoice Total screen.
- Select OK.
Micronet processes the credit note and then displays the Select Printer screen.
- Select the printer you want the credit note printed on then select Accept.
Micronet prints the credit note then redisplays the Job Information screen so you can load another service job if required.